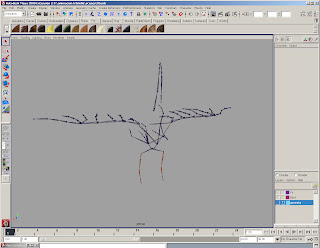
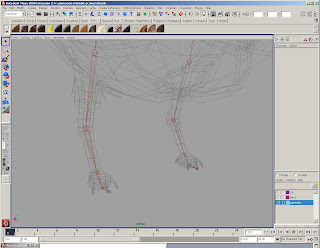
The first step for the creation of a rig is placeing the joints if the character.I created the whole skeleton from the begining and worked indivually with each part.I began with the legs because they are the part that require the most work. Joints should be placed in the center of the geometry.Here I created a join for the hip, a joint for the knee, the one for the ankle,another one for the ball of the foot and one more joint for the tip.After placing the joints they have to be oriented, so when the controlers are made the joint system will move in the proper direction.
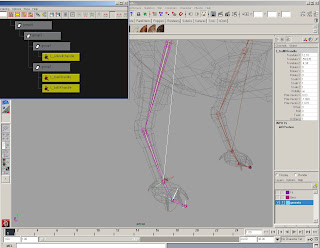
The next step is setting the IK handles.The IK Handle Tool can be found under the animation tab in Maya's interface.The first IK handle goes from the hip to the ankle.This first one should be created with RPsolver - this type of solver generate a Twist that controls the knee- and the two more handles, this time with an SCsolver.The first handle goes from the ankle to the ball, the second one from the ball to the toe. This IK Handles need to be made into groups.The first group contains the primary IK handle-ankle-,the second group contains the other two handles.These groups have to be grouped two more times.
Pivot Palcementes of the mentioned groups
* ankle handle group : ball
* ball/toe handle group: ball
*Group containig the previous 2: ankle
*Last group: toe
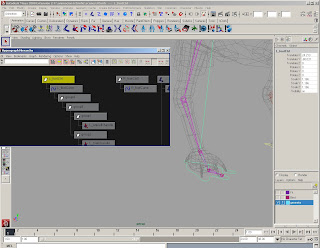
Now we can make a control.We create a curve and make sure all the attributes are set to 0.Then create a group with the control.This is how we move the control in order to keep the curves parameter in default values-zero-.Then we parent the groups to the control.
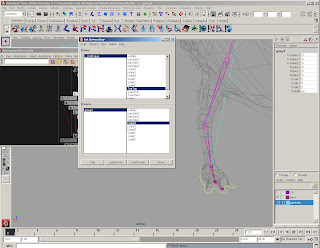
To determine the movements that the foot controller manages we use Set Driven Key.Before we use this we have to create new atributes for the control.Just go to teh channel box and right click >new attribute.I used a lot of set driven keys for this rig.
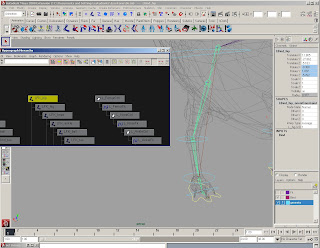
To control the knee weuse an utility called "plus average",which can be created on the hypershade. But first we need to create two more attributes on the control: Knee and Offset. Then we select the primary IK handle, the control of the leg and the utility,then click the button for the input and output in the hypershader. Then we are going to connect the control in the by rigth clicking on it and selecting the knee attribute and drag it to the utility in the input 1, on cero, then the offset attribute to the input 1 on one, then the output 1 of the utility to the IK in the twist.
NOTE: lock and hide all the atributes the control won't be needing, to prevent confusion when animating.
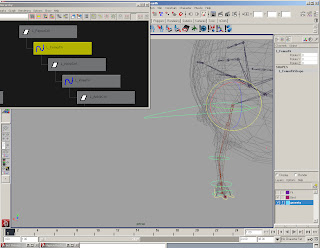
Next we have to make the FK system. For this, as well as for the bind, we duplicate the joints strating at the femur.Then we create controls for each joint.For the controllers to work propperly we must orient the group of the control with the joint, using an orient constrain without MO.Then we delete the contrain and this time we make another Orient contrain-or parent constrain if what we need is translation as well as rotation-, this time using MO(maintain offset). After this,all the controlls should be placed in hierarchy for them to work as a system.If we wanted to change the shape and position of the controller using the vertex of the curve is what we should do.
To make the bind, we take another copy of the leg joints, and add the finger joints.Then we take each corresponding joint of the IK with the Bind and make a parent constrain.The same with the FK.Finally we make the IK/FK Switch.

No hay comentarios:
Publicar un comentario